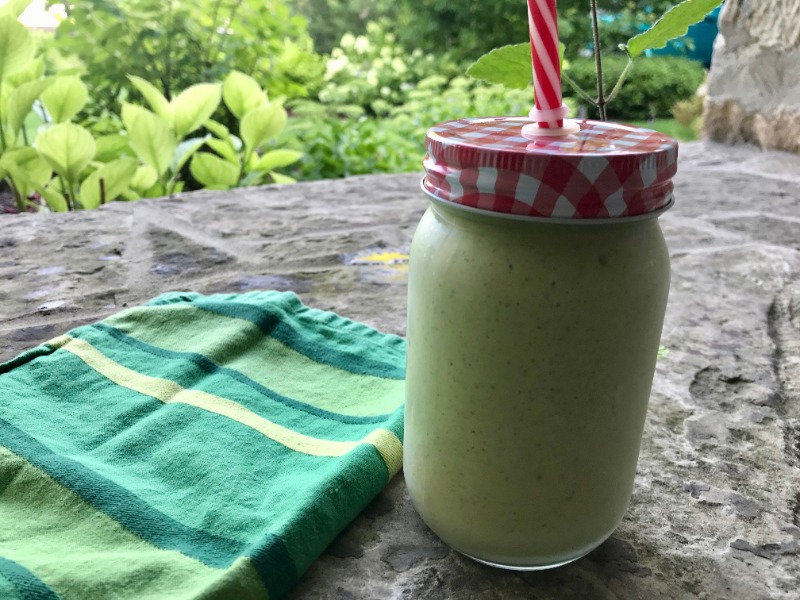
On a hot summer day, nothing is more refreshing than a smoothie, especially our Mango Ginger Smoothie. Packed with nutrients and freshness, our Mango Ginger Smoothie will keep you satiated for a few hours. It is a meal in itself or can be used as a post-workout snack. Adding ginger gives it that extra zest and spiciness. If you are new to using fresh ginger in a smoothie, you may find it a little strong. So start small until you get used to the taste, then increase the amount as you feel more comfortable.
Ginger – A Powerful Nutrient
Ginger is a healthy ingredient to add to any meal, including smoothies like our Mango Ginger Smoothie. Ginger is known for its gastro-intestinal benefits. It can help alleviate intestinal gas and be quite soothing and relaxing for the intestinal tract. It has also been studied for its effective way of relieving nausea in general, as well as symptoms of motion sickness. It is safe to use, even in pregnancy.
Gingerol, an active component in ginger, has also been studied for its effectiveness at reducing inflammation, including joint pain in arthritic patients.
Some studies have shown, that the anti-oxidative and anti-inflammatory effects of ginger may be effective at reducing or preventing various types of cancers. More studies need to be done in that area but it certainly looks promising. Its antimicrobial properties may also be effective at fighting colds and flus.
Include Ginger Daily
Want to increase your intake of ginger? Apart from this Mango Ginger Smoothie, we have many other recipes on our website that include this amazing ingredient, from soups such as our Carrot Asparagus Ginger Soup, or even a healthy snack like our Ginger Macadamia Balls . Next time you make a smoothie, remember to add a little ginger for a lot of healthy benefits.
Click here for the printable version of this recipe.
1 serving
Prep time: 5 minutes
What you need:
- 1/2 frozen ripe banana
- 1/2 cup frozen mango pieces
- 1 cup leafy greens
- 1 inch cube gingerroot*, coarsely chopped
- 1 cup almond milk
- 2 tbsp coconut yogurt
- 1 tbsp flax seeds
- 1 scoop unflavoured protein powder
- 1 tbsp sea moss gel (optional)
*If you are new to adding fresh ginger to your smoothie, start with a smaller amount.
What you do:
- Combine all ingredients in your high-speed blender and blend until you have a homogenous liquid.
- Pour into a glass jar and enjoy.
Nutrient Information Per Serving:
Fat 7g Carbs 34g Fibre 7g Sugar 19g Protein 24g
Culinary Tips:
- You can use any non-dairy milk in this recipe.
- You can omit the yogurt and it won’t affect the taste.
- You can make this recipe with fresh, unfrozen banana and mango. It will just be less cold and thick.
- No flax seeds? Use chia seeds instead.
- You can replace the protein powder with 2 tbsp hemp seeds. Note that the protein count will go down.
Bon appétit!
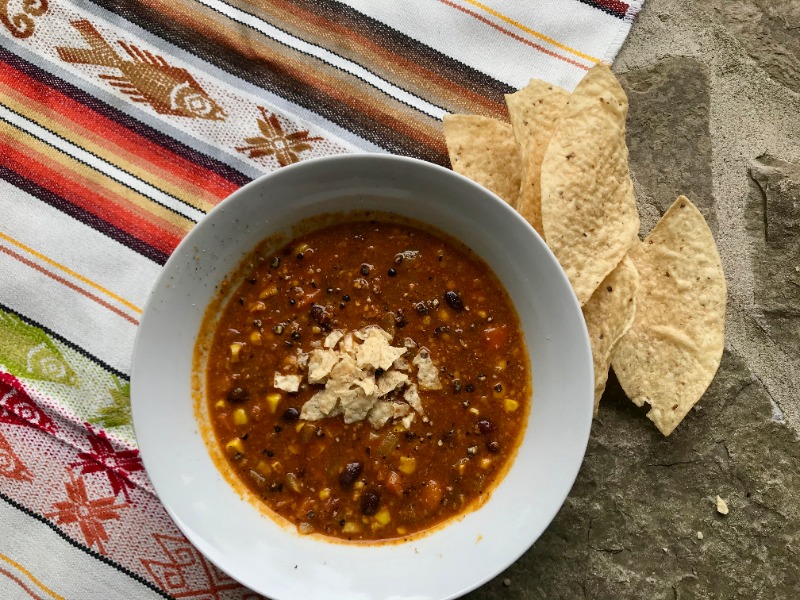
If you are feeling a little Mexican, then this Nacho Soup is the perfect way to warm you up on a cool summer night. At C’est La Vie Wellness, we love soups because it is a great way to use up any leftover vegetables. In the case of this Nacho Soup, we also used chili walnut meat that was left over from our Sweet Potato Nachos recipe.
Turmeric – The King of Anti-inflammation
Turmeric is what gives our Nacho Soup its nice golden colour. The active ingredient in turmeric, curcumin, is know for its numerous health benefits, especially for its antioxidant and anti-inflammatory properties. Studies have shown that curcumin can help with the management of conditions such as metabolic syndrome, arthritis, anxiety, cholesterol, muscle soreness, and exercise-induced inflammation.
Enhancing Bioavailabily
There are two ways to increase the bioavailability of curcumin in our body. First, because curcumin binds to fats, it is suggested to take it with a source of fat. Our soup contains avocado oil and almond meal, both of which are great sources of healthy fats. The second way is to combine it with some black pepper. The active ingredient piperine, found in black pepper, has been shown to enhance the absorption of curcumin (the active incredient in turmeric).
Other Turmeric Recipes
Want to increase your intake of turmeric? Apart from this Nacho Soup, we have many other recipes on our website that include this amazing ingredient, from Turmeric Pumpkin Pancakes, to many of our soups such as our Carrot Asparagus Ginger Soup, or Healing Turkey Noodle Soup, . Next time you make a soup from scratch, just add a few tsp of turmeric to the mix and reap all the healthy benefits.
Click here for the printable version of this recipe.
4-6 servings
Prep time: 15 minutes
Cook time: 20 minutes
What you need:
- 1 tbsp avocado oil
- 1 onion, diced
- 2 garlic cloves, minced
- 1 tbsp grated gingerroot
- 1 tbsp turmeric powder
- 1 tbsp cumin powder
- 1 tsp freshly ground black pepper
- 1 tsp sea salt
- 2 large carrots, diced
- 2 corn on the cobs*
- 3 cups bone broth
- 1 1/2 cup cooked black beans (398ml can)
- 1 cup salsa
- 1 cup chili walnut meat (optional)*
*Find the recipe for walnut meat as part of our Sweet Potato Nachos.
What you do:
- In a large saucepan, heat the avocado oil over medium-high heat. Add the onions and cook until softened. Add in the garlic and ginger. Continue cooking for 1-2 minutes. Mix in the turmeric, cumin, salt and pepper. Stir well and continue cooking for a minute.
- Remove corn kernels from the cob. Add to the saucepan along with the carrots, bone broth, black beans, and salsa. Stir and bring to a boil. Reduce heat and simmer for 20 minutes or until all vegetables are soft.
- Blend in the chili walnut meat. Taste and adjust seasonings. Heat through.
- Spoon into bowls. Top with nacho pieces.
Nutrient Information Per Serving:
Fat 14g Carbs 42g Fibre 11g Sugar 10g Protein 17g
Culinary Tips:
- Replace the walnut meat with ground beef or cooked chicken.
- If corn on the cob is not available, use 1 cup of frozen corn instead.
- No salsa? Then use 1 cup canned diced tomatoes.
- Top with some yogurt, avocado pieces, and/or fresh herbs.
Bon appétit!


Lyne Desforges | Blog | Naturopathic Medicine
Inflammation is a popular word in the wellness industry, however its overuse may have given the wrong impression about its purpose. Being inflamed is not always a bad thing. It can mean that the body is working normally to fight off pathogens and infections. The problem occurs when you are in a constant inflammatory state.
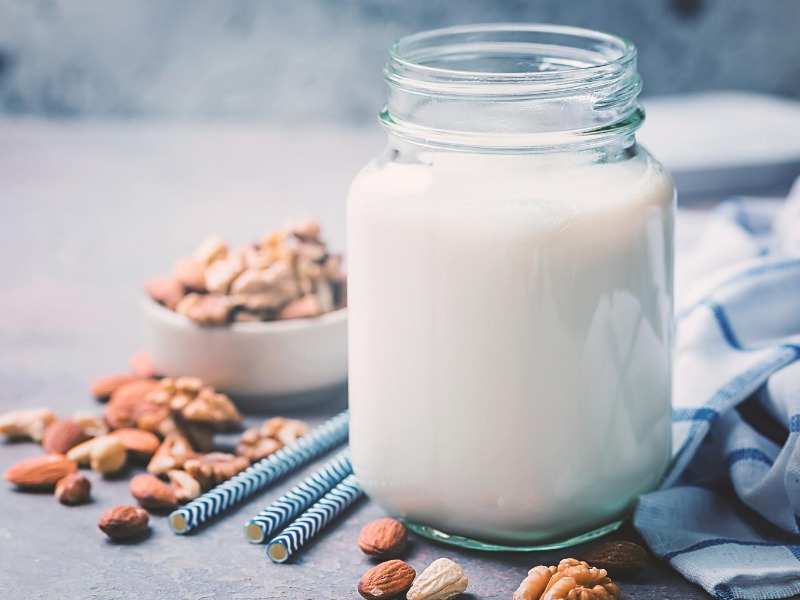
Homemade Nut Milk With Sea Moss Gel
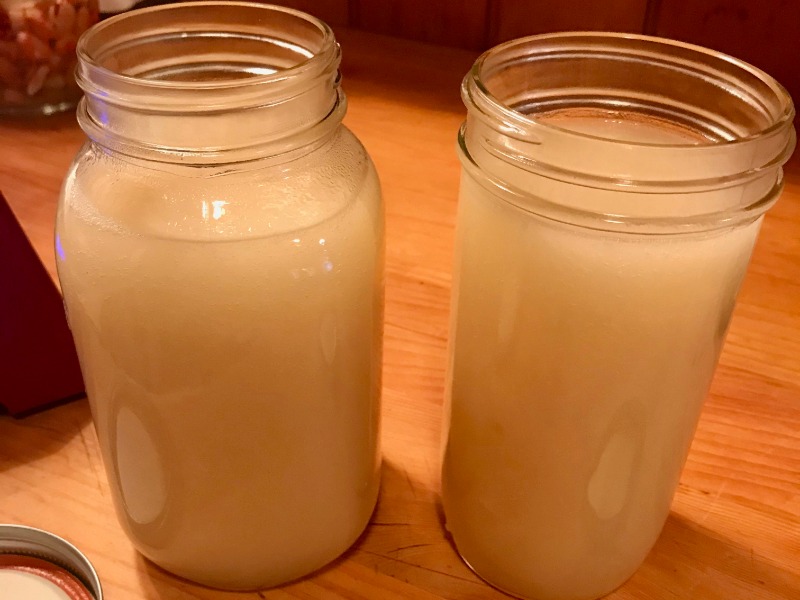
I have been making nut milks for years, using various combos of nuts and seeds. However, I was looking for a way to get a thicker milk that would stay homogenous, even after a few days in the fridge. After some research, I found the perfect ingredient: sea moss. It is a natural thickener that gives milk a creamier fuller texture.
It is very easy to prepare the sea moss into gel. Only 5 steps and I was ready to go. I had a nice gelatinous odourless and tasteless mix that I could add to my homemade nut milk.
After doing some research, I also found out that sea moss has many health benefits, especially as a soothing and healing treatment for any mucous membrane in the body, especially the gut. What a bonus!
With this in mind, I prepared my favourite homemade nut milk using a combo of Brazil nuts and almonds. I added a little natural sweetness with some dates and vanilla. And with the sea moss gel, I now have the perfect finished product.
Makes approx. 4 cups
Prep time: 5 minutes (+ overnight for soaking)
What you need: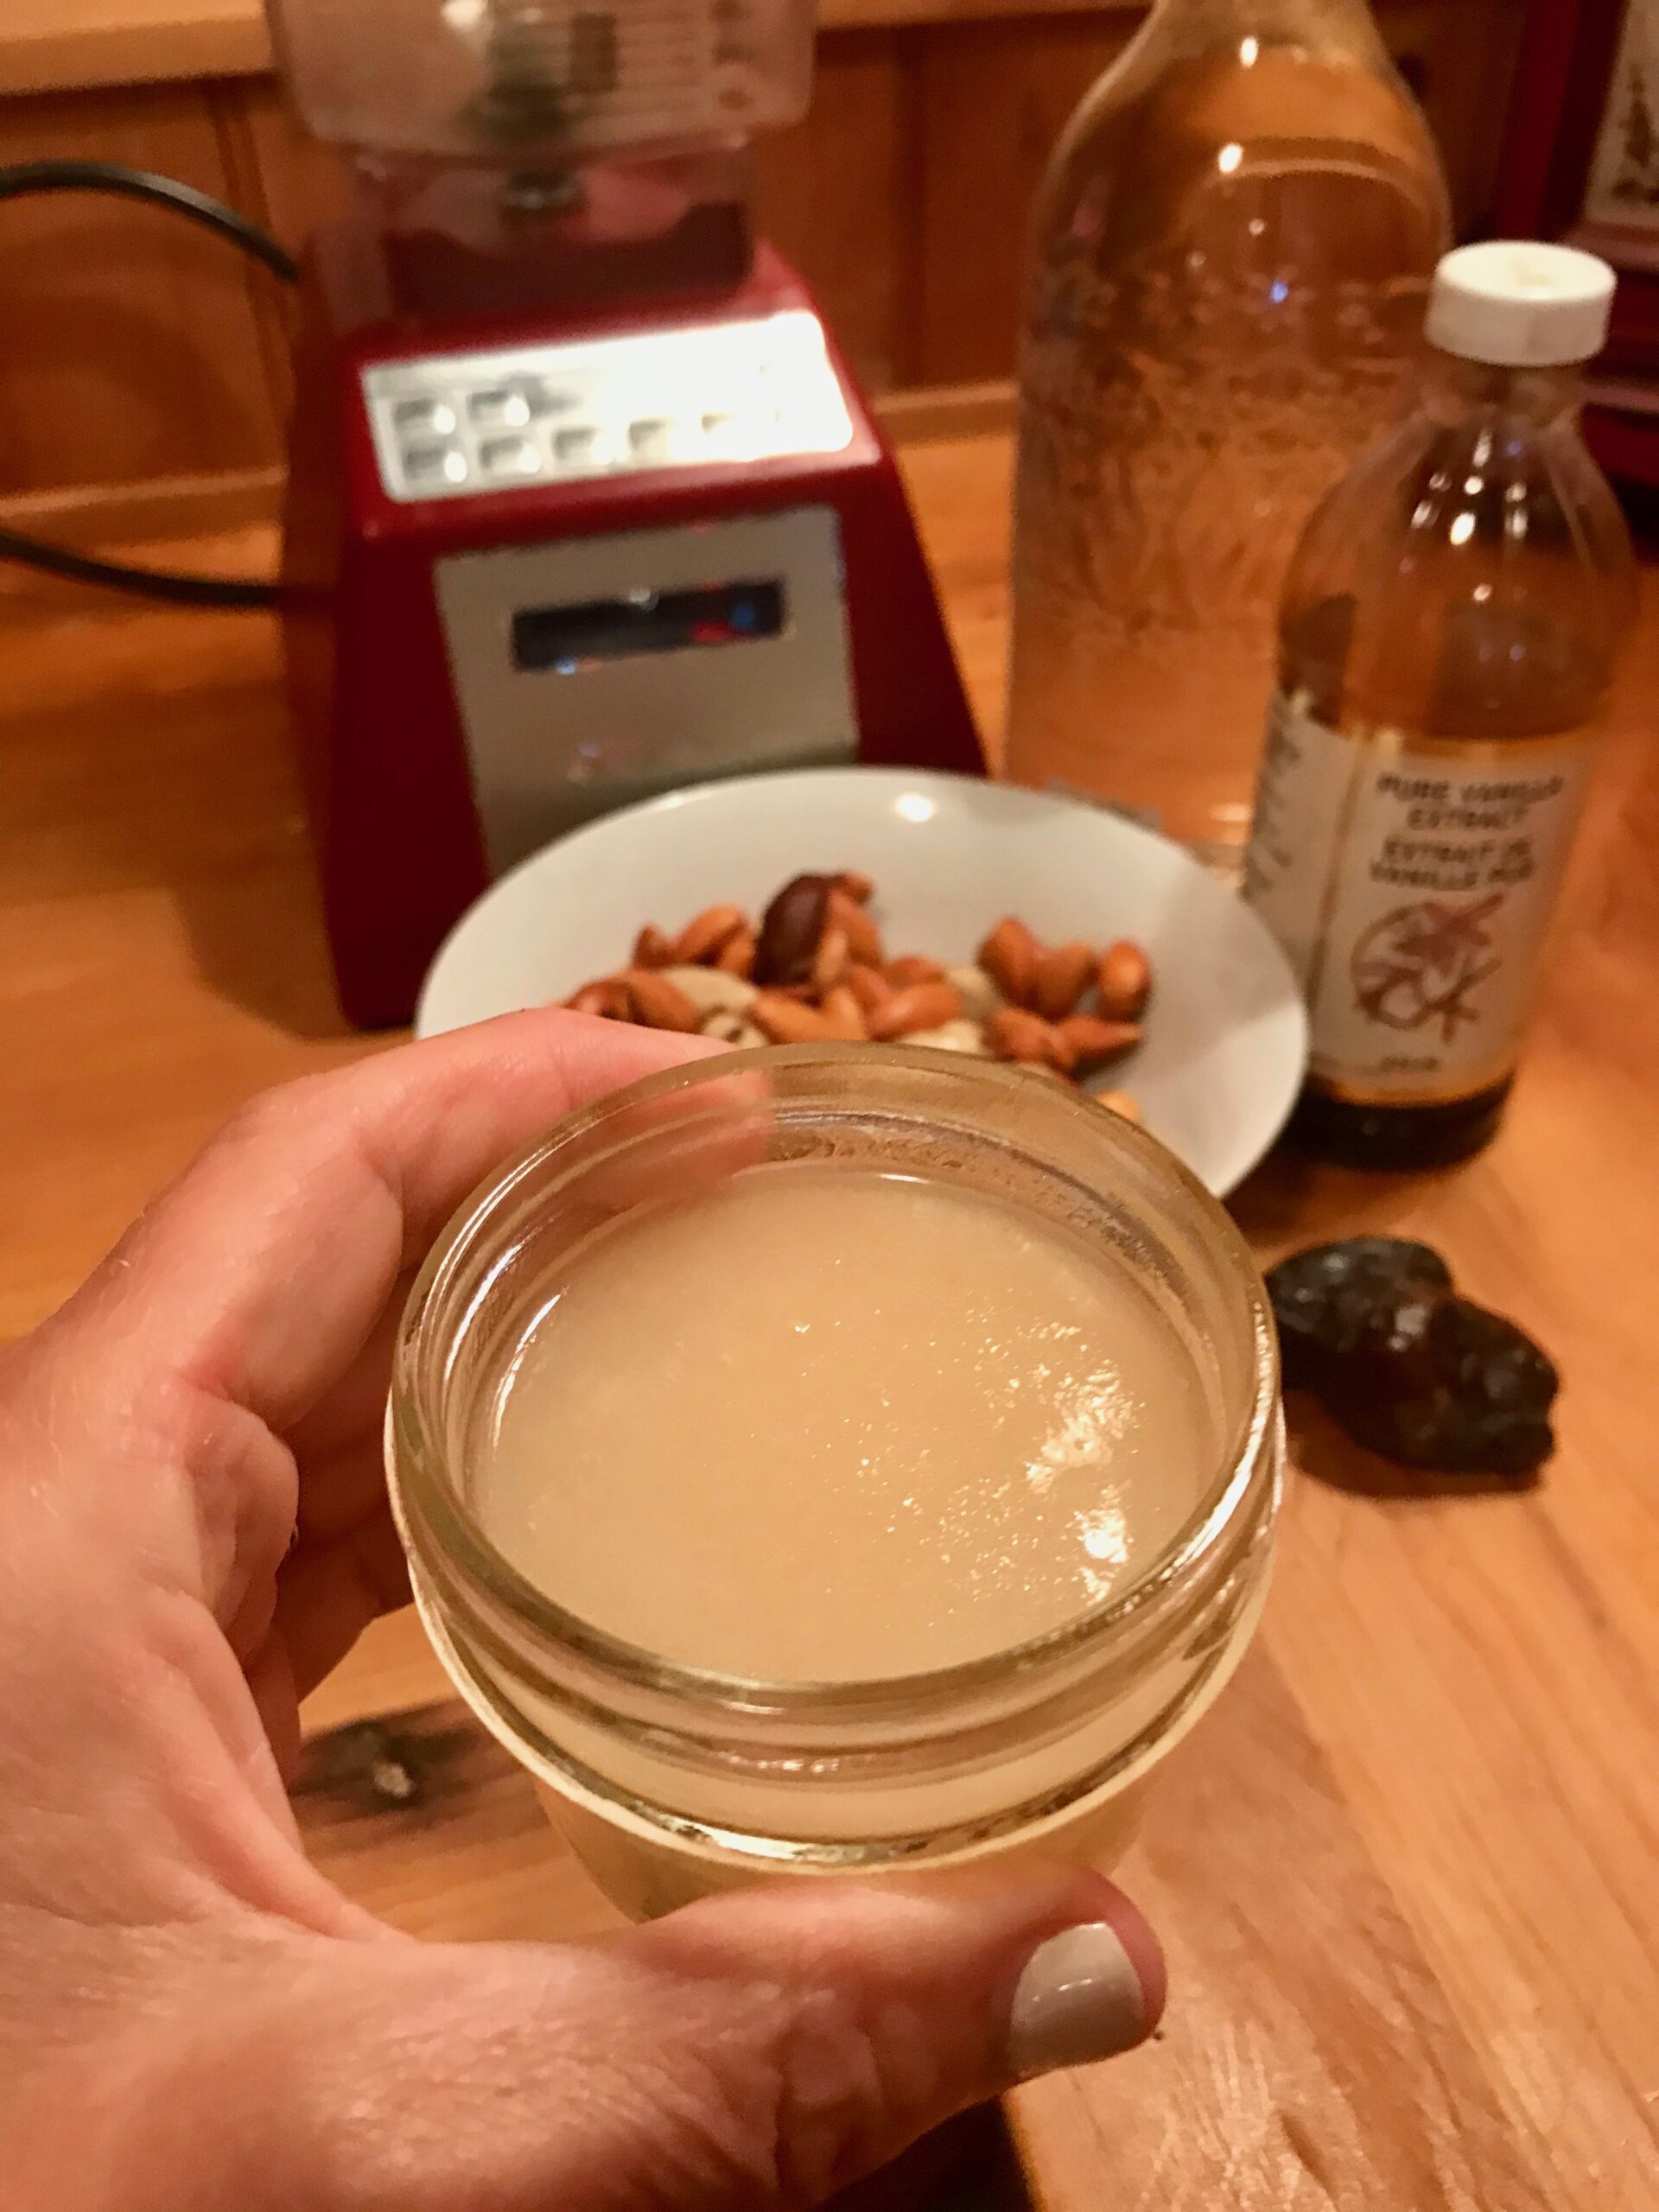
- 1/2 cup Brazil nuts (soaked overnight)
- 1/2 cup almonds (soaked overnight)
- 3-4 cups pure filtered water
- 1 date
- 1 tsp vanilla
- 1/4 cup sea moss gel
What you do:
- Drain and rinse the nuts. Add to your high-speed blender with the water, date, and vanilla. Blend on medium-high speed until well-blended. Use more or less water depending on how thick you want your milk.
- Place a nut bag over a large bowl. Pour the milk mixture into the nut bag and squeeze out all the liquid. Discard the pulp (or use in other recipes).
- Return the milk to the blender and add the sea moss gel. Blend for a few seconds.
- Pour into your clean Mason jars and refrigerate until ready to use.
Bon appétit!
Culinary Tips:
- Replace the Brazil nuts and almonds with any other combo of nuts and seeds.
- If using the milk in savoury dishes, omit the dates and vanilla.
By Lyne Desforges, Holistic Nutritionist & Culinary Expert
Making Sea Moss Gel
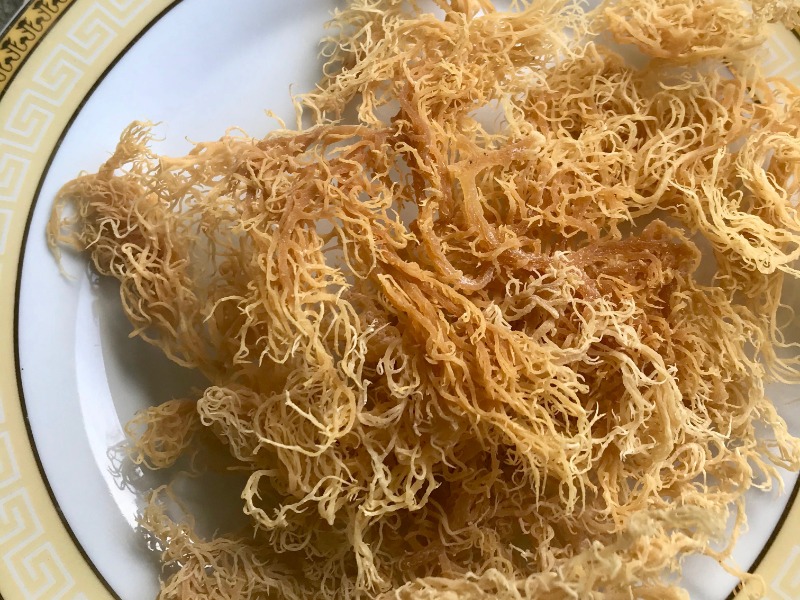
I love when my kitchen becomes a nutrition lab as I experiment with new foods, new ingredients, and new recipes. I had heard about adding Sea Moss (also know as Irish Moss or red algae) to homemade nut milk as a natural thickener so I finally ordered some and learned how to work with it.
After doing some research, I also found out that sea moss has many health benefits, especially as a soothing and healing treatment for any mucous membrane in the body, especially the gut. What a bonus!
Here are 5 simple and easy steps to make sea moss gel.
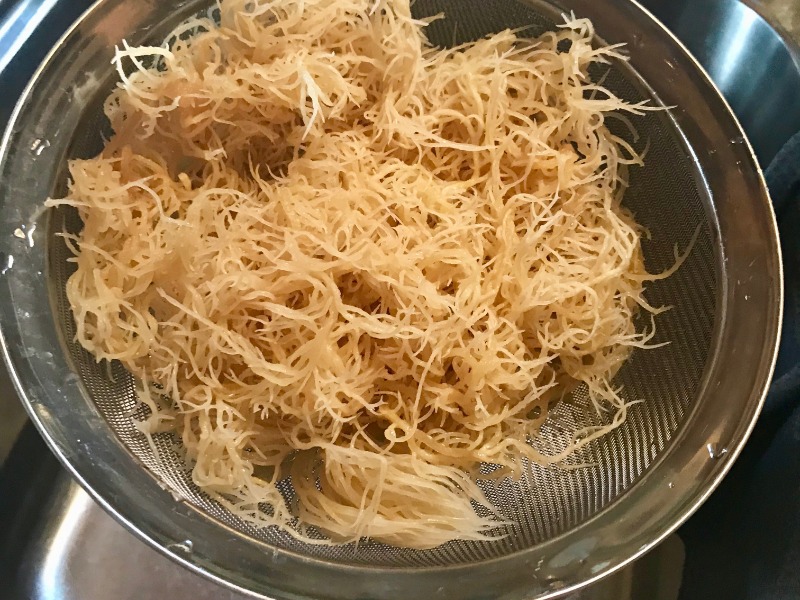
Step 1: Rinse Well
Remove from the packaging and place in a colander. Rinse under cold water to get any excess salt or debris out.
Step 2 – Soak In Water
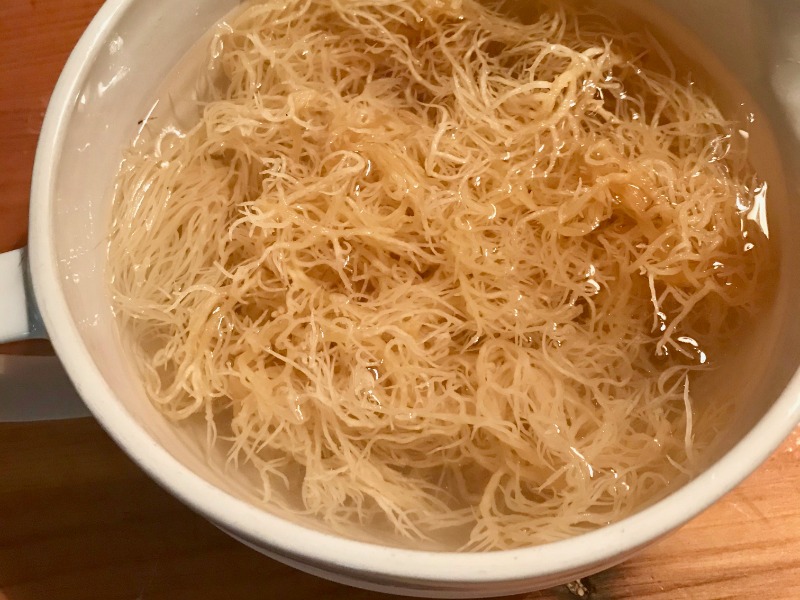
Take a large bowl, add the sea moss and cover in lots of pure filtered water. Note that the sea moss will expand so you may need to add more water. You can add the juice from half a lime to the water. It will help take away the fishy taste and smell. Let soak overnight.
Step 3-Rinse Again
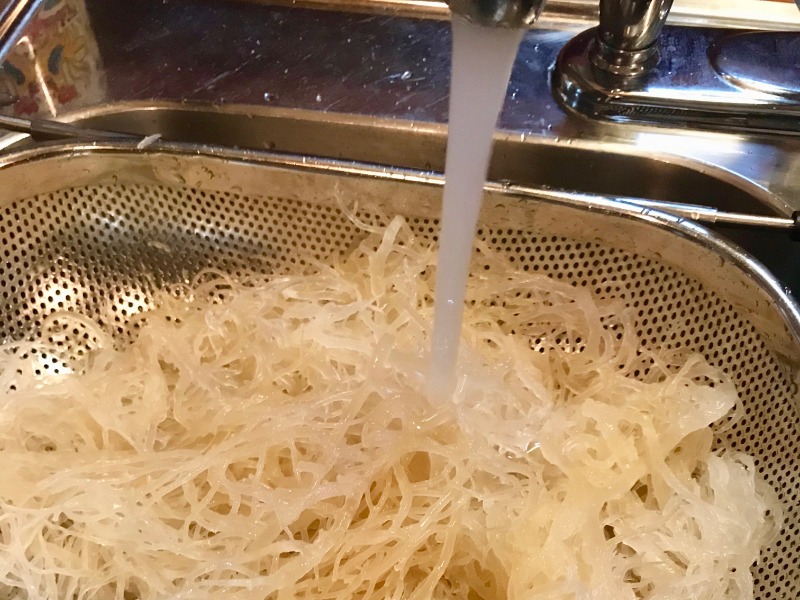
Drain the sea moss in a large colander and rinse again under cold water. Swish it around until everything has been evenly rinsed. You will notice that the colour may have whitened a bit after the soaking. That is totally fine.
Step 4 – Boil Gently (optional)
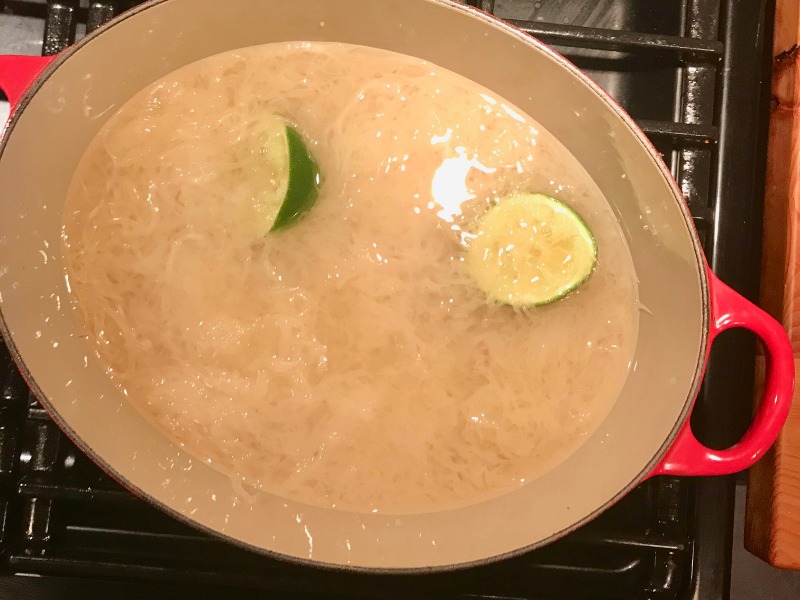
Take out a large saucepan and add a bit of pure filtered water to the pan. Bring to a gentle boil. Add the sea moss and reduce the heat to just below boiling. There should be enough water in the pan to just cover the sea moss but not drown it completely. Heat gently on medium-low for 20-25 minutes. You can add more lime or lemon juice to the pot again. You can even add the juiced-out lime halves (as shown in the photo). The sea moss will start to really soften and thicken. It is almost completely white at this point.
Note: You can omit this step and just blend the raw soaked sea moss with pure filtered water in your blender. Using a ratio of 2 cups water to 1 cup of sea moss should work.
Step 5 – Blend It
Turn off the heat. Let cool a few minutes. Pour the whole contents of your saucepan in your blender. Start blending on medium-high speed. It should form a thick homogenous liquid. Pour into clean Mason jars and let cool. Then add the lids and refrigerate until ready to use.
Use It in Homemade Nut Milk
Once cooled completely, you should have a nice thick gel that you can add to your homemade nut milks, smoothies, soups, stews, drinks, or even personal care products. More recipes to come as I experiment with this new ingredient.