
How to Prepare Sea Moss
By Lyne Desforges, Holistic Nutritionist & Culinary Expert
Making Sea Moss Gel
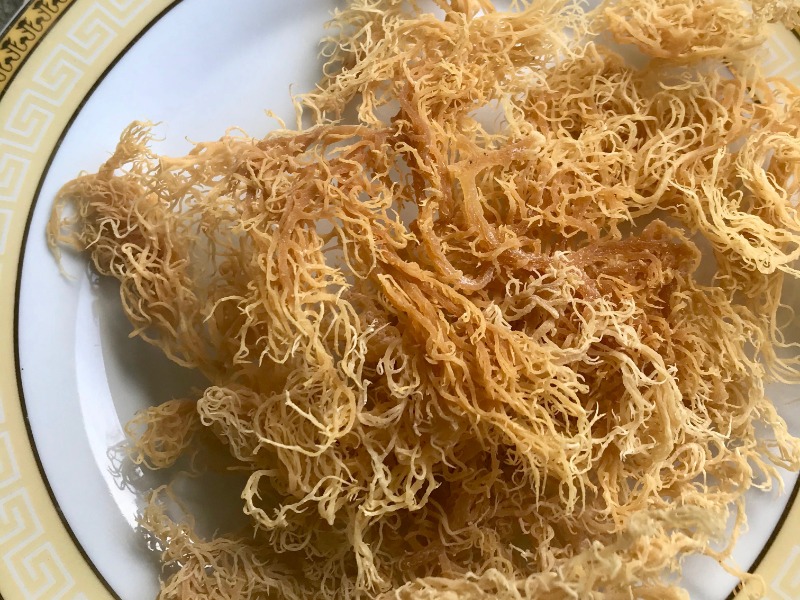
I love when my kitchen becomes a nutrition lab as I experiment with new foods, new ingredients, and new recipes. I had heard about adding Sea Moss (also know as Irish Moss or red algae) to homemade nut milk as a natural thickener so I finally ordered some and learned how to work with it.
After doing some research, I also found out that sea moss has many health benefits, especially as a soothing and healing treatment for any mucous membrane in the body, especially the gut. What a bonus!
Here are 5 simple and easy steps to make sea moss gel.
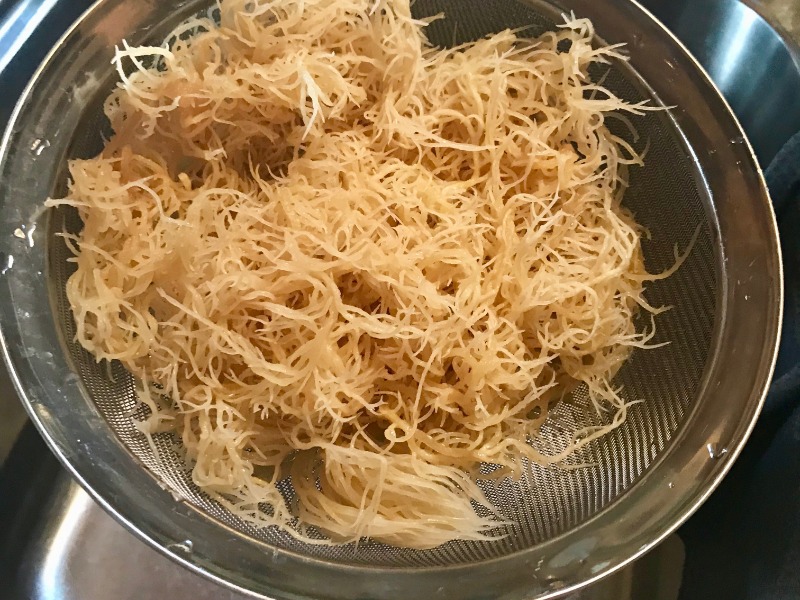
Step 1: Rinse Well
Remove from the packaging and place in a colander. Rinse under cold water to get any excess salt or debris out.
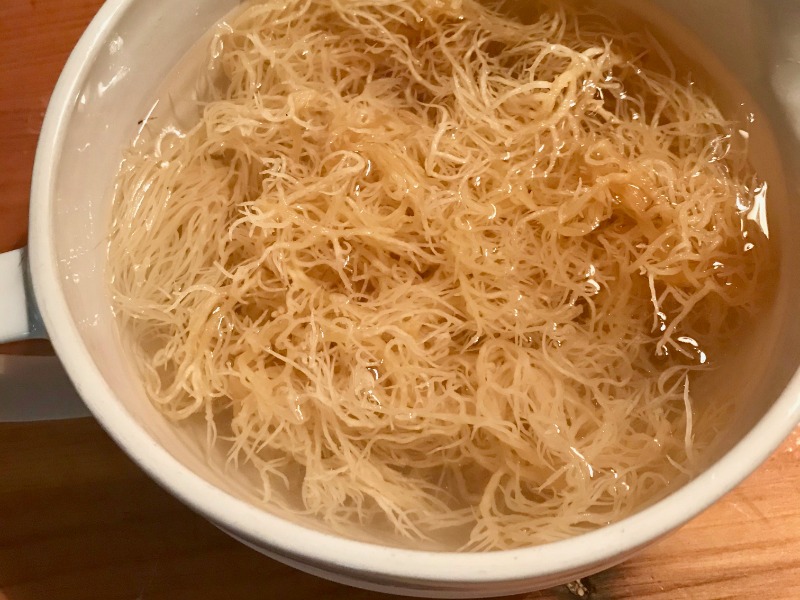
Step 2 – Soak In Water
Take a large bowl, add the sea moss and cover in lots of pure filtered water. Note that the sea moss will expand so you may need to add more water. You can add the juice from half a lime to the water. It will help take away the fishy taste and smell. Let soak overnight.
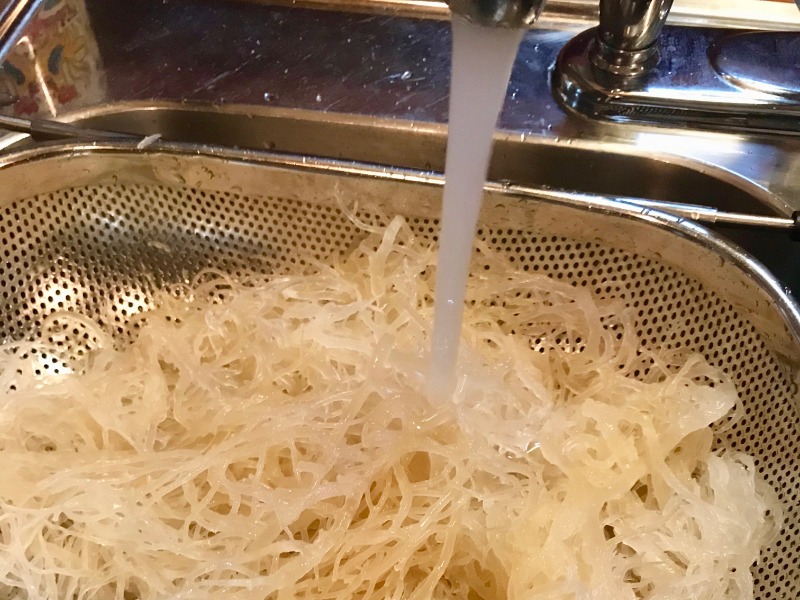
Step 3-Rinse Again
Drain the sea moss in a large colander and rinse again under cold water. Swish it around until everything has been evenly rinsed. You will notice that the colour may have whitened a bit after the soaking. That is totally fine.
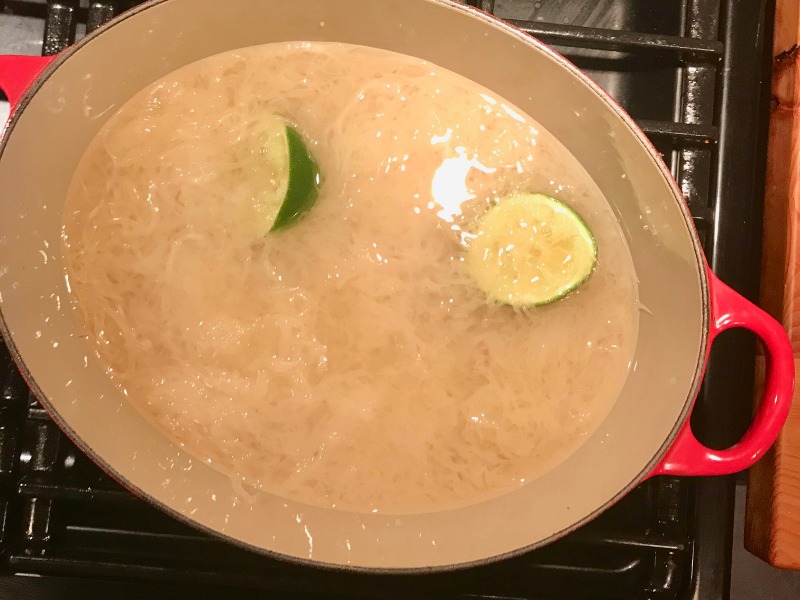
Step 4 – Boil Gently (optional)
Take out a large saucepan and add a bit of pure filtered water to the pan. Bring to a gentle boil. Add the sea moss and reduce the heat to just below boiling. There should be enough water in the pan to just cover the sea moss but not drown it completely. Heat gently on medium-low for 20-25 minutes. You can add more lime or lemon juice to the pot again. You can even add the juiced-out lime halves (as shown in the photo). The sea moss will start to really soften and thicken. It is almost completely white at this point.
Note: You can omit this step and just blend the raw soaked sea moss with pure filtered water in your blender. Using a ratio of 2 cups water to 1 cup of sea moss should work.
Step 5 – Blend It
Turn off the heat. Let cool a few minutes. Pour the whole contents of your saucepan in your blender. Start blending on medium-high speed. It should form a thick homogenous liquid. Pour into clean Mason jars and let cool. Then add the lids and refrigerate until ready to use.

Use It in Homemade Nut Milk
Once cooled completely, you should have a nice thick gel that you can add to your homemade nut milks, smoothies, soups, stews, drinks, or even personal care products. More recipes to come as I experiment with this new ingredient.

Educating, motivating and inspiring have always been important aspects of my professional journey. Through workshops, cooking classes, customized menus & recipe books, and online programs, I guide clients towards healthier food choices and eating habits.