

Lyne Desforges | Blog | Naturopathic Medicine | Nutrition | Wellness Tips
By Lyne Desforges, Registered Holistic Nutritionist & Culinary Expert
Time to Reduce Inflammation!
 For the past ten springs & summer seasons, I have had a bad case of rashes all over my body. According to dermatologists, this is “contact dermatitis“, a condition where the skin is in contact with an allergen and an irritation occurs. Even though this made sense somewhat, I was still dumbfounded when the rashes would appear in odd places on my body and at odd times of the year (in March?). So what the heck was going on? Not only that, but my whole body started to ache more. I just felt like I was in a constant state of inflammation. This is when our clinic’s naturopath, Dr. Sofie, suggested I do a food intolerance test, and that I reduce histamine-rich foods in my diet. With her support and guidance, I began to reduce inflammation through food elimination, a low-histamine diet, and helpful supplements. Here are the 5 key steps that helped me get back up the slope of health.
Step 1 – Reduce/Eliminate Inflammatory Foods
 My basic food philosophy has always been: “Eat Real Food, Know Where It’s Coming From, Prepare It With Care”.
Avoiding the typical inflammatory foods has been an important part of my health journey. We all know what those are: processed foods, junk foods, trans fats, refined sugars and carbs, food additives and preservatives. I have also reduced or eliminated gluten and dairy. That was already a good start, but I still found that my body was inflamed and that’s when I discovered that not all healthy foods are healthy for me!
Step 2 – Do a Food Intolerance Test
 Everyone is biologically different and one particular food could be very beneficial to one person but harmful to another. By doing a Food Intolerance Test, you get an overall picture of what foods to avoid and what foods are safe. With that list in mind, you eliminate the harmful foods for a minimum of three weeks. Then you start reintroducing them one a time every 3-4 days and notice any effects on your body. With the support of our clinic’s naturopath, Dr. Sofie, I took a blood test to determine my inflammatory foods. I was astounded to find out that healthy foods like mushrooms, flaxseeds, egg whites, and peas could be increasing inflammation in my body. Food intolerances are very different from food allergies because they don’t always cause immediate reactions or symptoms in the body. You can read more about it in Dr. Sofie’s blog on seasonal allergies.
Step 3 – Reduce Histamine-Rich Foods
Histamine is a brain chemical (a neurotransmitter) that is released in the body, as part of the inflammatory response. When we come in contact with an allergen, histamine is like the first responder of the immune system, working at getting rid of the foreign invader (virus, bacteria, allergen, etc.).
The problem occurs when there is too much histamine circulating in the body and the body cannot break it down quickly enough. That’s when typical allergy symptoms start to appear: red or itchy eyes, hives, rashes, swelling, nasal congestion, headaches, fatigue, irritability, digestive issues, nausea, vomiting, etc.
What I didn’t realize was that many of the healthy foods I was eating were rich in histamine, thus adding to the overall histamine load in my body: i.e. fermented foods, avocados, spinach, strawberries, tomatoes, lemons, etc. For a complete list of foods to avoid, check out my latest blog “Histamine in Foods: How It Could Aggravate Your Allergy Symptoms”. Following a low-histamine diet has helped immensely in reducing and even eliminating my rashes.
Step 4 – Eliminate Toxins
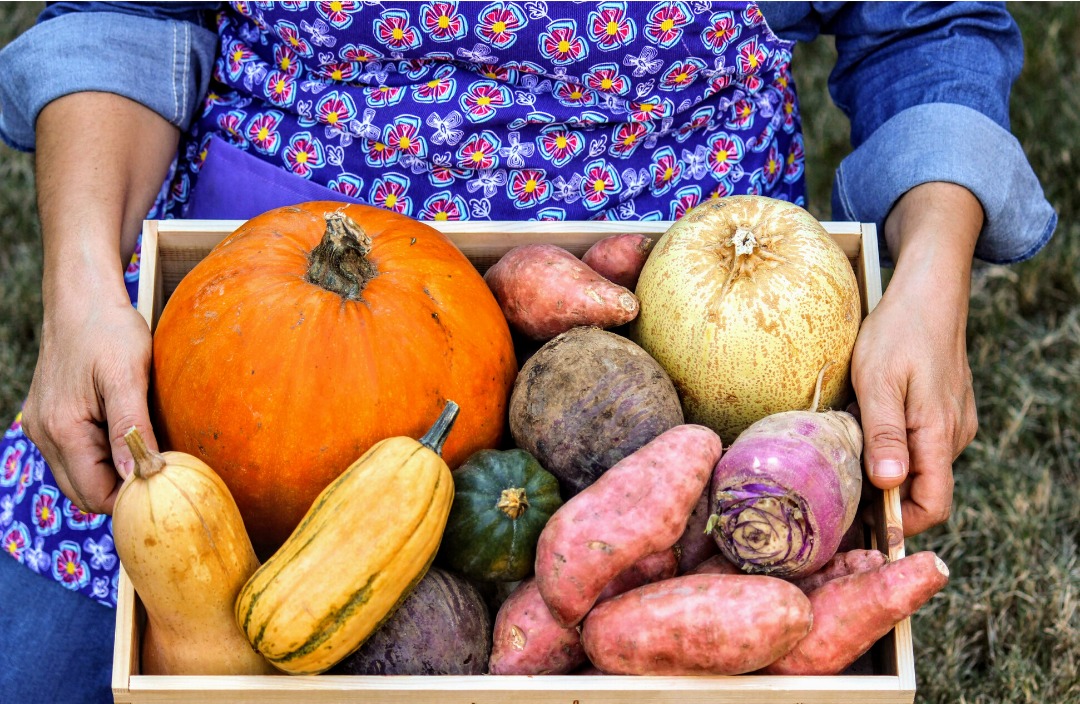 Give your liver some love by reducing its toxic load. Avoiding all external and internal sources of toxins has been my goal for the past two years. I have replaced most of my plastic containers with glass or steel. Using a refillery like Park Market & Refillery has been a great help. I try to buy organic as much as possible and have a CSA (Community Supported Agriculture) share with Plan B Organics. And I have cleaned up my cleaning. My household cleaning products and personal care products are mostly natural and toxic free. I adopted a daily meditation and gratitude practice to reduce my mental and spiritual toxicity as well. All these have helped reduce inflammation in my body.
Step 5 – Supplement with Helpful Nutrients
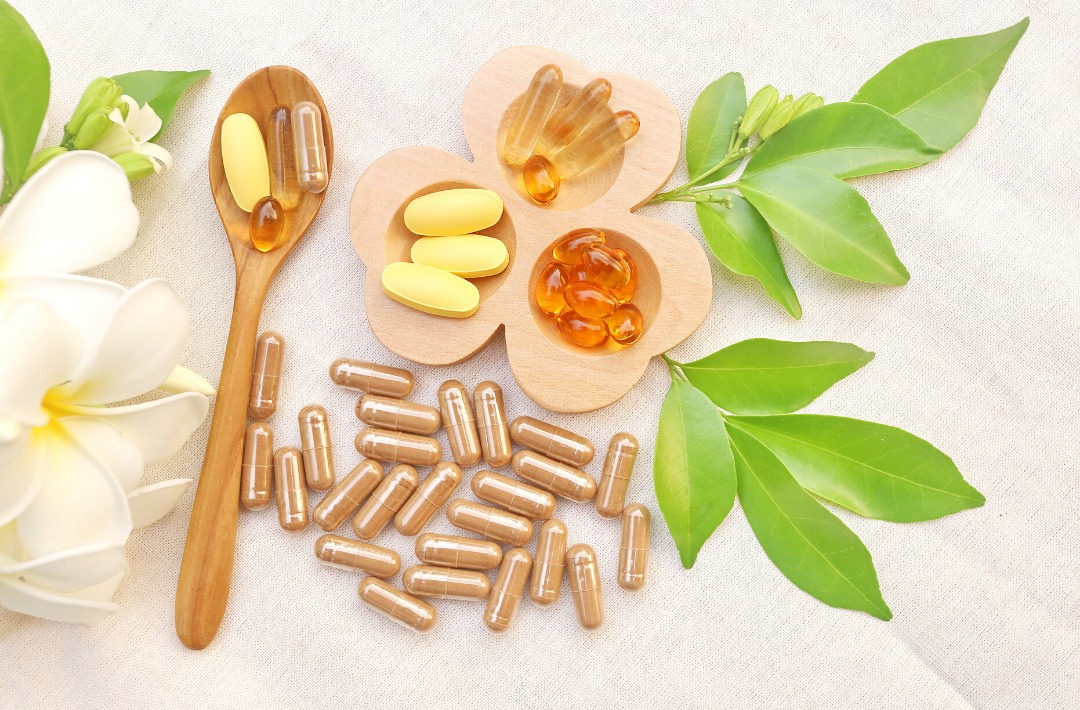 With the help of our clinic’s naturopath Dr. Sofie, I started to integrate more healing nutrients to support my journey to reduce my overall inflammatory state. Adding quercetin, vitamin C, and nettle tea have helped during allergy season to reduce the intensity and frequency of my rashes. Taking collagen and curcumin have helped with my overall aches and pain. Lastly, working on my digestion and gut healing with digestives enzymes and glutamine, has ensured that my body absorbs all the healthy nutrients from the foods I am eating.
Remember to always consult with your healthcare practitioner before starting to take any supplements.
Health is a Journey
The path to health evolves and shifts constantly. You are either moving up or down the slope of health and the more you can do to help reduce inflammation in the body, the better. Reducing inflammation in the body takes commitment. Like everyone, I have good days and I have bad days. My diet is not perfect but at least I am more aware of the effects of certain foods on my body, my energy levels, my mood, and my overall vitality. I am happy to report that I have not had any rashes this year, and I feel a reduction in aches and pain in my body. It’s hard to do it all on your own. With the help of a naturopath or a nutritionist, you too can reduce inflammation in your body and start feeling more like your true vibrant self so you can enjoy life to the fullest.
Feel free to contact us at the C’est La Vie Wellness if you need help and guidance in achieving your health and wellness goals. If you would like to do a Food Intolerance Test or purchase any of the supplements suggested, please contact our naturopath, Dr. Sofie.

Lyne Desforges | Blog | Naturopathic Medicine | Nutrition | Wellness Tips
By Lyne Desforges, R.H.N.
Living with Dehydration
 Every living being needs water for their survival. It is indeed, the essence of life. However, as humans, we often neglect this essential nutrient in favour of coffee or alcohol. According to doctors, 75% of Americans may be suffering from chronic dehydration?
Did you know that exercising in hot, humid weather could make you dehydrated in as little as 30 minutes?
An average adult loses approximately 10 cups of water every day, just by breathing, sweating and urinating. Some symptoms of dehydration are thirst, headache, low urine output, dizziness, lethargy, constipation and dark yellow urine.
Adopting healthy habits can start with something as simple as adding more water to your daily routine. You will be surprised at how much better you will feel.
We Are Basically Made of Water
Did you know that up to 60% of the human body is made up of water? According to the USGS Water Science School, the brain and heart are made up of 73% water, the lungs are 83% water, the skin is 64% water, muscles and kidneys are 79%, and even the bones are watery at 31%. So drink up! Your body will love you for it.
How Much Water Do You Need?
According to the Mayo clinic, men need 3 litres of fluid per day while women need 2.2 litres. These amounts will vary according to the person’s size, age, health, activity level and the weather. Fluid intake can be from water, juices, herbal teas, soups, smoothies, and food. Remember that coffee and alcohol don’t count as they are dehydrating and require even more fluid to compensate!
Here is a quick way to calculate your water needs:
Take your weight in pounds and divide it by 2. The result is the # of fluid ounces you need per day.
5 Reasons Why You Need to Drink Water
-
Not just a pretty face:

Defy aging by keeping your skin plump and moist… and keep them guessing! -
A spring in your step:
Water lubricates joints and moistens tissues making every step a joyous event. -
Fit and trim:
Water boosts your metabolism and may curb hunger. Bye bye cravings! -
Clean lean machine:
Get rid of toxins by promoting good elimination and keep your kidneys happy. -
Whiz kid:
Water increases your energy and your cognitive ability, so get out that Trivia game and dazzle everyone with your happy brain!
3 Tips to Increase Your Daily Intake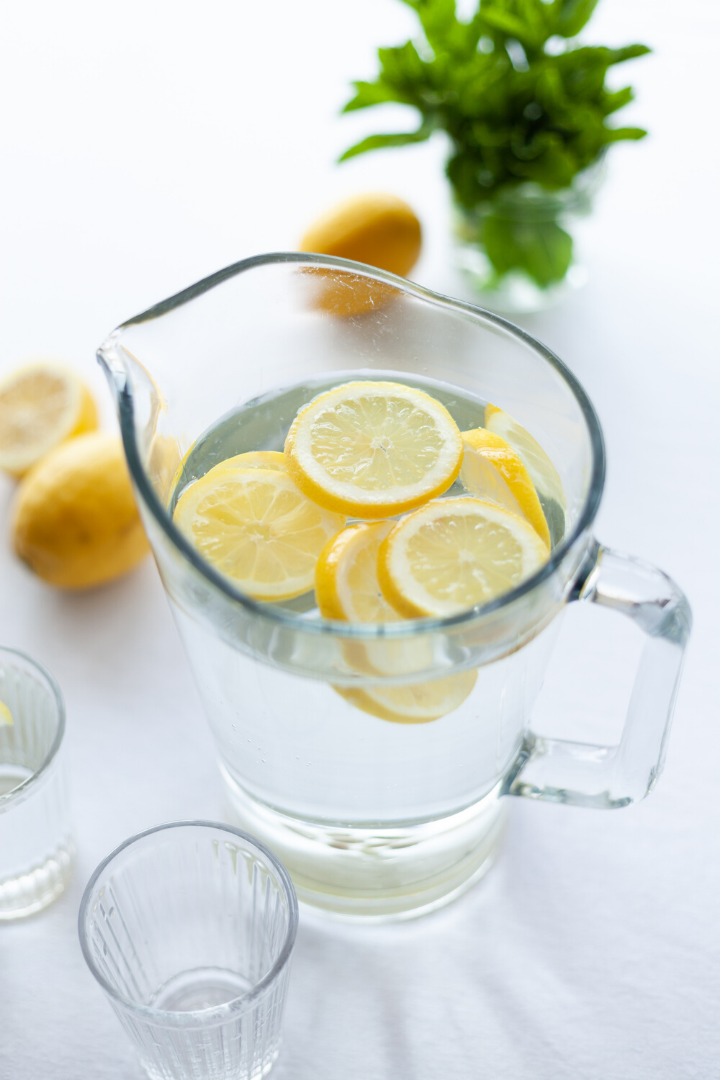
-
Tip #1:
Fill a big jug of water in the morning and aim to drink it all by the end of the day. -
Tip #2:
Put elastics around your water bottle. If you aim to drink 2 litres and your water bottle contains 500 ml, then put 4 elastics around it. Every time you refill the bottle, remove one elastic. -
Tip #3:
Put an alarm on your phone/watch/FitBit for every 30 minutes. Drink every time it rings!
What About Sport Drinks?
That is a subject for a whole other article. Basic advice: always look at the ingredients of anything you are putting in your body. Do you really need to ingest “Red Dye 40”? If you are sweating a lot and need to replenish your electrolytes, opt for coconut water or make your own sport drink.
Get Drinking Today
Start incorporating that water drinking habit today and feel better for all your tomorrows. If you need support in adopting any healthy habits, feel free to contact any of our healthcare practitioners.
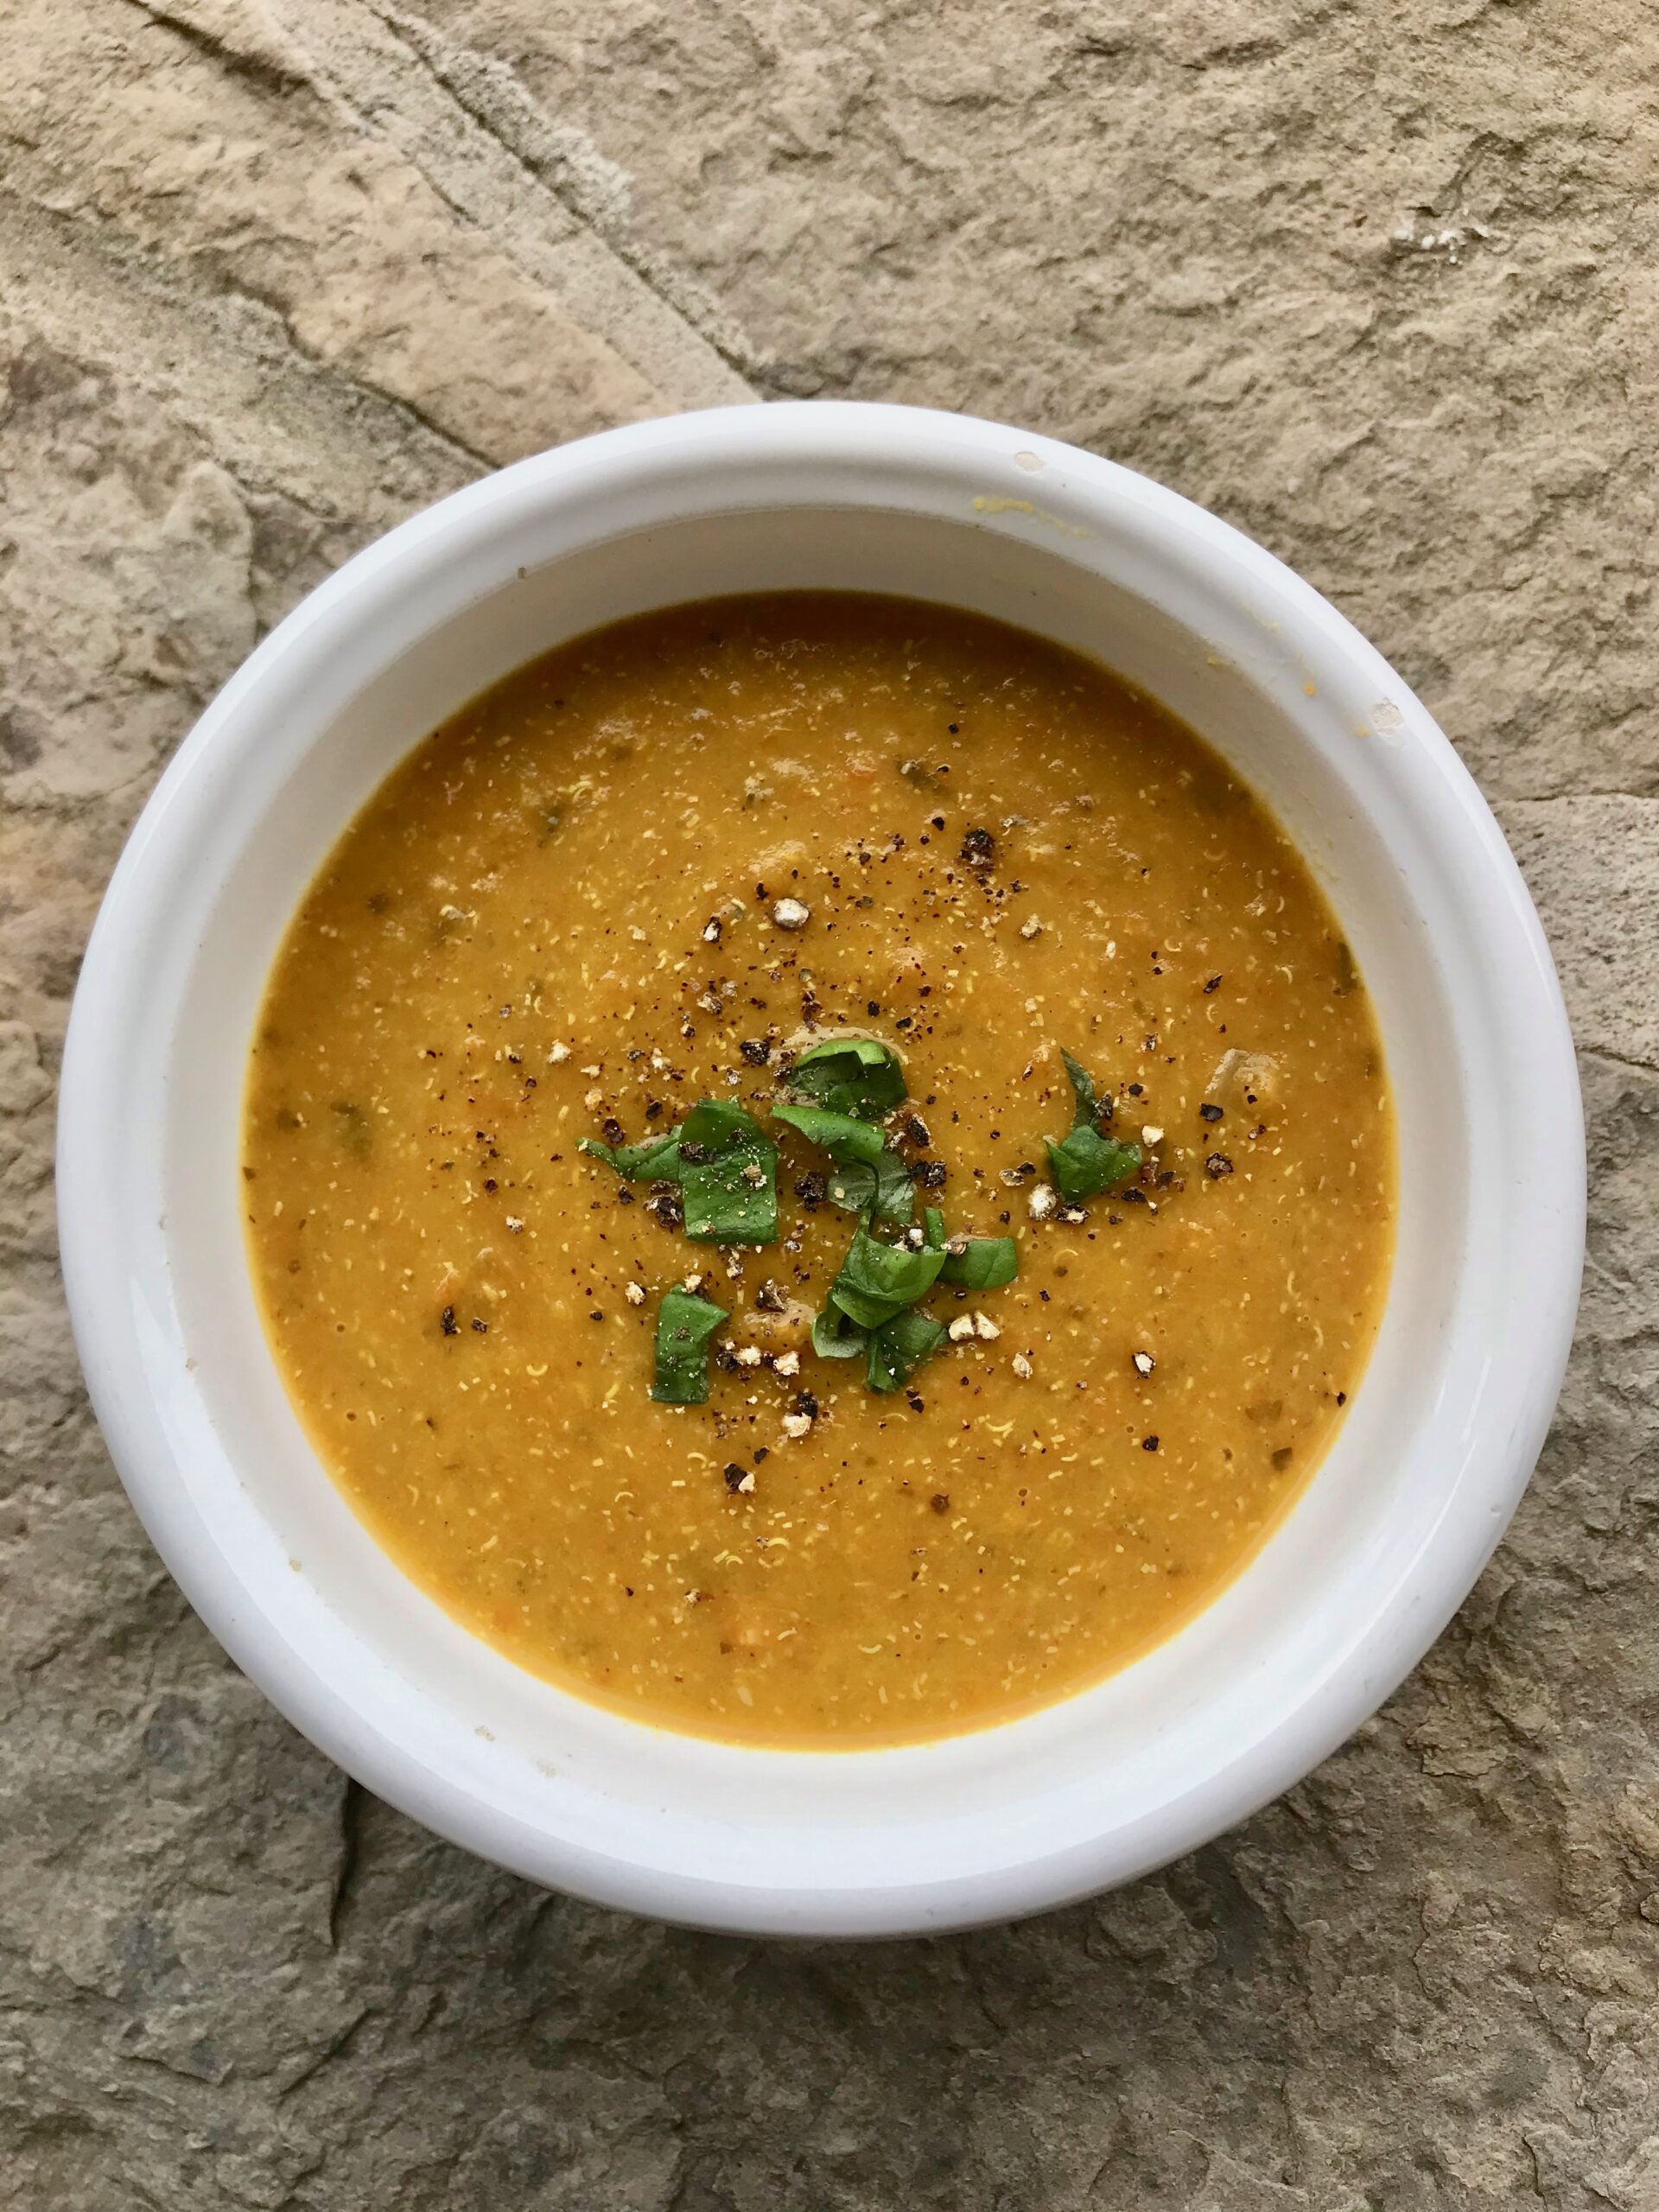
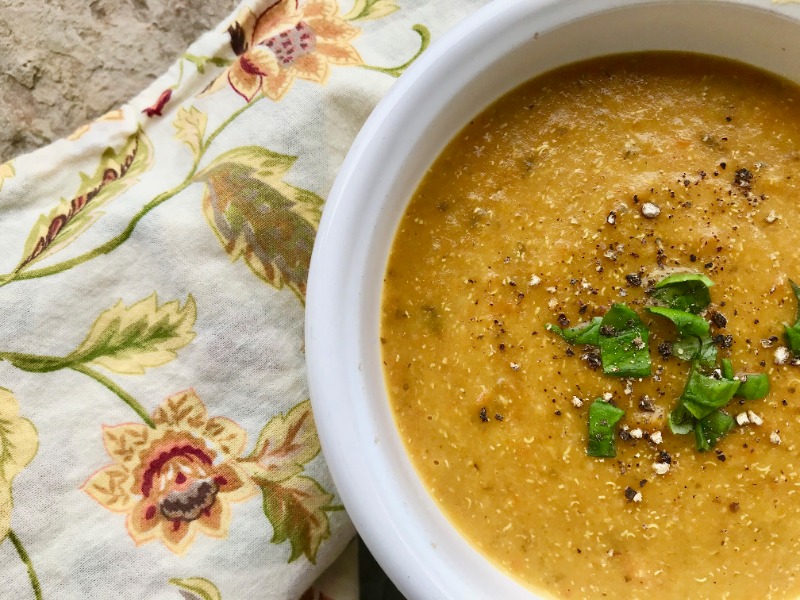
What a great way to welcome spring! Asparagus is one of the first local vegetables to appear at farmer’s markets and we love incorporating it in as many dishes as possible. This easy to make soup is a great way to do so. Adding some quinoa helps to increase the protein content while the turmeric and ginger provide some anti-inflammatory and anti-viral properties. Enjoy with some crusty sourdough bread!
6-8 servings
Prep time: 15 minutes
Cook time: 15 minutes
What you need:
- 1 tbsp coconut oil
- 1 large onion, diced
- 2 cloves garlic, minced
- 2 tbsp grated ginger (more or less to taste)
- 1 tbsp turmeric powder
- 6 medium carrots, cubed
- 1/2 cup dry quinoa, rinsed
- 1 1/2 cup chopped asparagus
- 4 cups homemade bone broth (or vegetable broth)
- 1 tsp sea salt
- Freshly ground black pepper (to taste)
What you do:
- In a large saucepan, melt the coconut oil. Add the onions and sauté until they have softened. Add the garlic, ginger, and turmeric powder. Mix and cook for another minute.
- Add the carrots, quinoa, asparagus, bone broth, and sea salt. Mix and bring to a boil. Then simmer for 15 minutes or until all vegetables have softened.
- Taste and adjust seasoning. Pour into serving bowls. Top with fresh herbs and freshly ground pepper.
Bon appétit!
Substitution tips:
- Replace the homemade bone broth with chicken or vegetable broth.
- Replace the quinoa with rice or lentils.
- Replace the turmeric powder with some curry powder.
- The soup will keep in the fridge for a few days or in the freezer for a month.
- Other soup toppings: coconut kefir and/or toasted pumpkin seeds, pine nuts, or sunflower seeds.
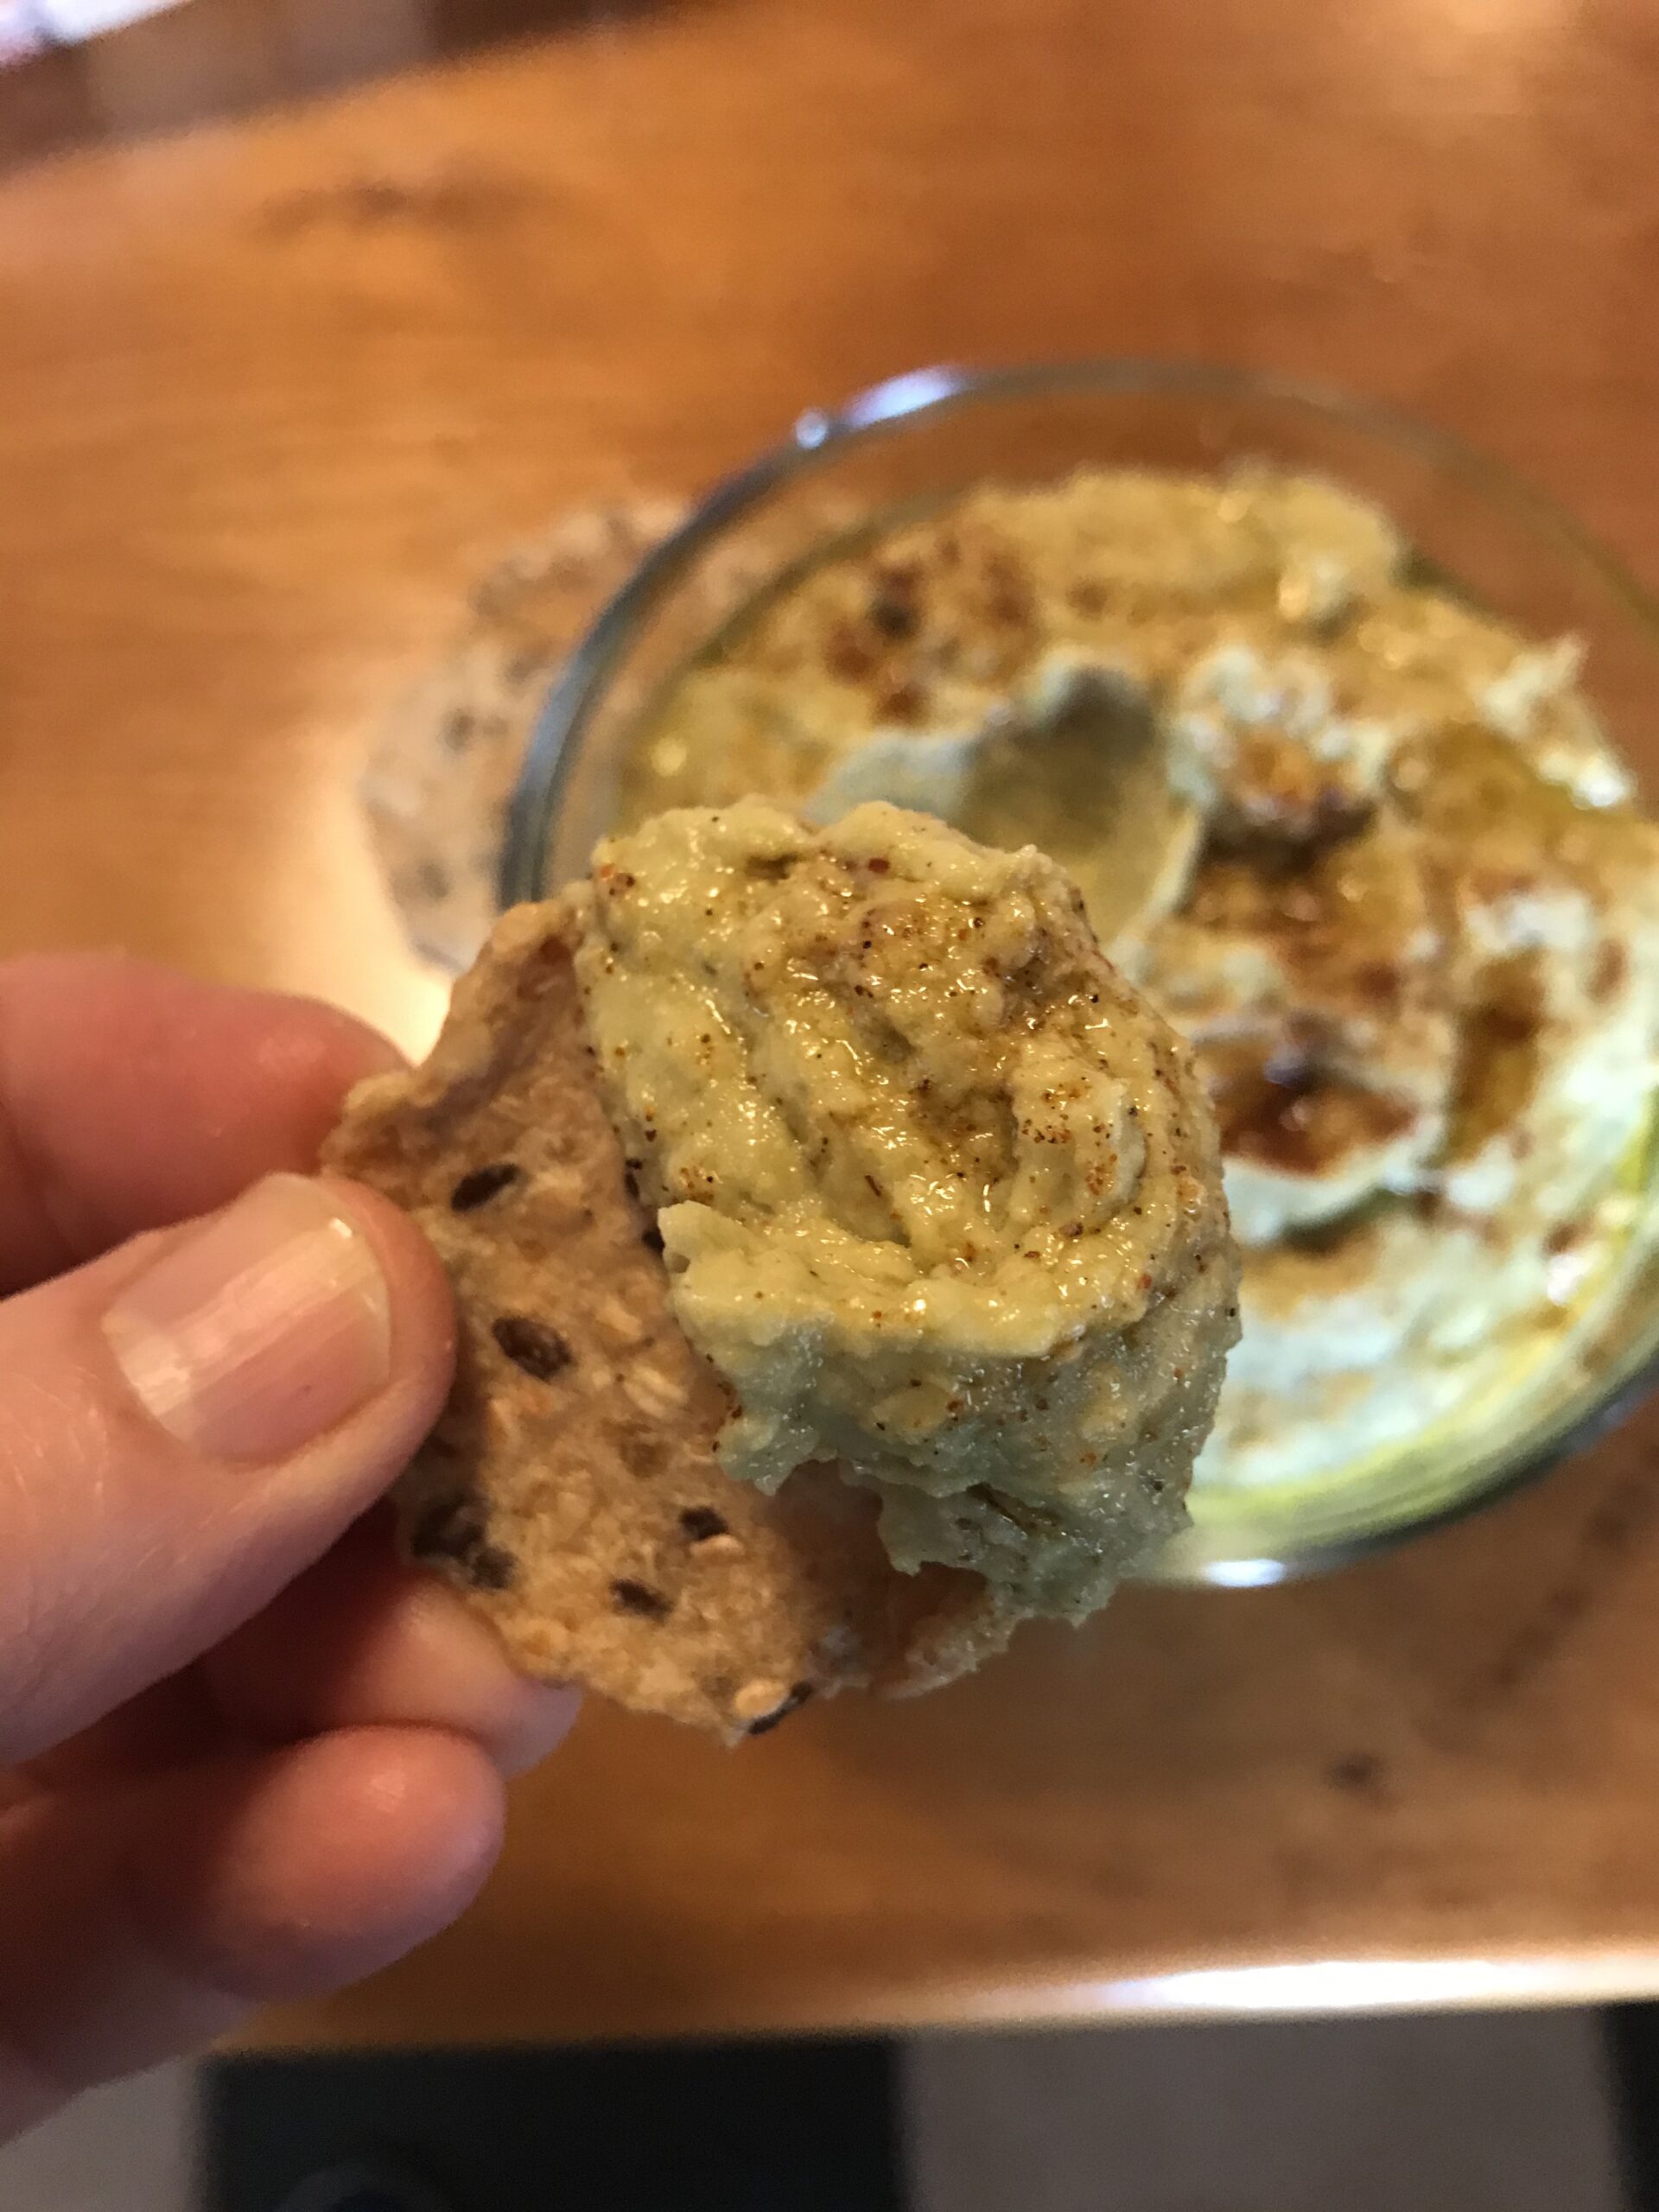
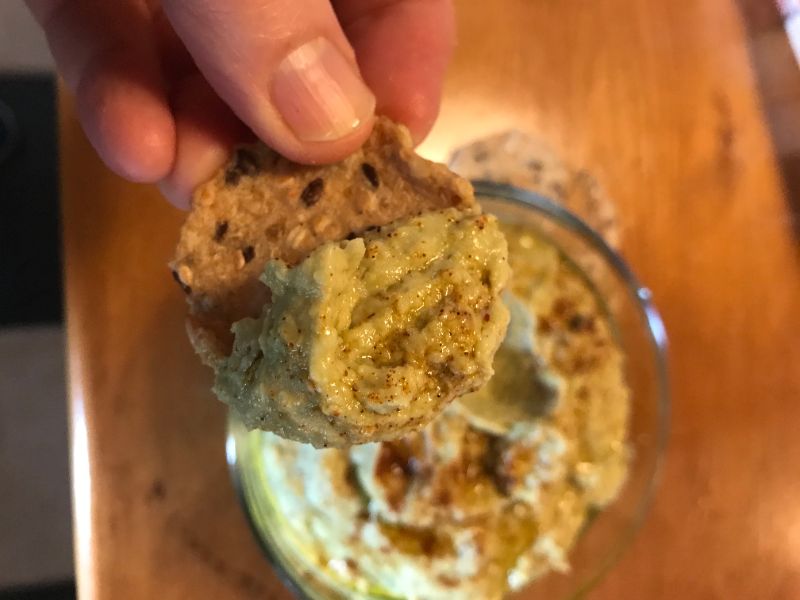 I love dips and I often make hummus so that I have a healthy go-to snack whenever cravings hit. With its combo of fibre, good fats, and protein, this Garlic Avocado Hummus will satisfy any cravings and will keep you satiated until your next meal. In this version, the tahini has been replaced by an avocado, giving it a rich texture and flavour.
Makes approx. 2 cups of dip.
Prep time: 10 minutes
What you need:
- 1 ripe avocado, peeled and pitted
- 1 can cooked chickpeas (about 1 3/4 cup)
- 1 clove garlic, crushed
- 1 tsp Dijon mustard
- 1/2 tsp sea salt
- 1 lemon, juiced
- 2-4 tbsp water
- 2-4 tbsp olive oil
- paprika (optional)
- seed crackers or fresh veggies to serve
What you do:
- Combine all ingredients except the olive oil and paprika in a food processor. Blend until you get rid of all big lumps.
- Start drizzling the oil and continue blending until you get a nice smooth mix. You may need to add a little bit more water if it is too thick.
- Add your Garlic Avocado Hummus to a serving bowl, sprinkle some paprika and extra olive oil on top.
- Enjoy with seed crackers or fresh veggies such a bell peppers, carrots, celery, broccoli or cauliflower.
Bon appétit!
Substitution tips:
- Replace the garlic with 1 tbsp of grated ginger.
- Replace the paprika with some chili powder to add a little more fire.
- Use a lime juice instead of lemon juice.

Love waffles but can’t have gluten? No problem. This recipe will give you a great fluffy waffles and it contains some healthy ingredients too. Add some healthy toppings and you are good to go. These will freeze quite well. Just take one out when you want and pop it in the toaster to thaw and crisp it up. Enjoy these anytime!
Makes 6 large round waffles
Prep time: 15 minutes
Cook time: 1-2 minutes per waffle (depending on the waffle iron used)
What you need:
- 1 1/2 cup gluten-free all-purpose flour*
- 1/2 cup gluten-free quick-cooking oats
- 1 tsp baking powder
- 1 tsp baking soda
- 1/2 tsp sea salt
- 2 tsp baking powder
- 3 eggs, lightly beaten
- 1 cup non-dairy unsweetened milk
- 2 tbsp pure maple syrup
- 1 tsp vanilla extract
- 1/4 cup coconut oil, melted
- 1/4 cup hemp seed oil
- 1 cup non-dairy yogurt
What you do:
- Preheat your waffle iron. In a large bowl, mix together the dry ingredients: flour, oats, baking powder, baking soda and salt.
- In a medium bowl, whisk together the wet ingredients: eggs, milk, maple syrup, vanilla, coconut oil, hemp seed oil and yogurt.
- Pour the wet ingredients over the dry ingredients and mix well. Add more milk if batter is too thick.
- Pour batter in your waffle maker (the quantity will vary according to the waffle iron used).
- Enjoy with healthy toppings such as berries, peach slices, banana slices, applesauce, chia jam, nut butters, yogurt, ground flaxseeds, hemp seeds, chopped nuts, or a drizzle some maple syrup.
*Bob’s Red Mill All-Purpose Baking Flour was used to develop this recipe.
Bon appétit!
Substitution tips:
- Replace the quick-cooking oats with rolled oats.
- Replace the hemp seed oil with avocado oil or more coconut oil.
- If you can tolerate dairy, use full-fat yogurt instead of dairy-free.
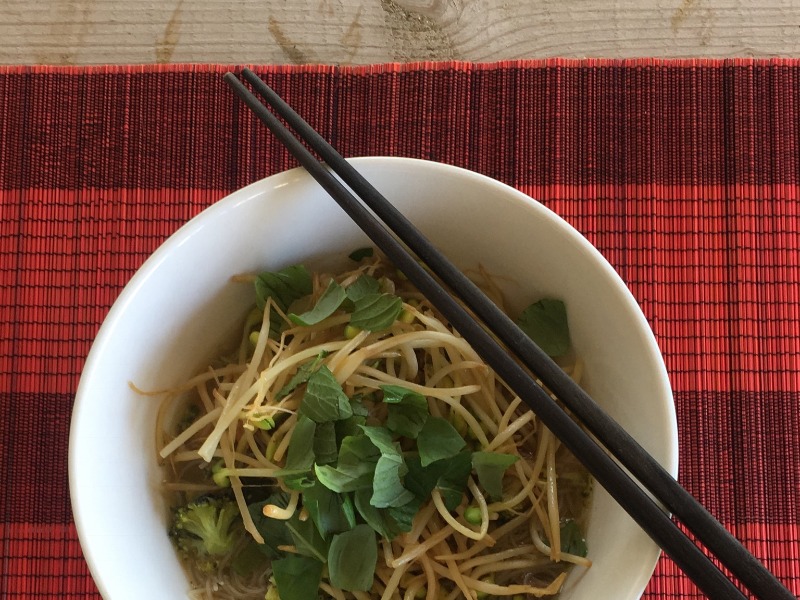
Inspired by my travels to Vietnam where I enjoyed Pho Soup regularly, I was determined to replicate it here at home. The key to keeping it authentic is to ensure you use the herbs and spices in the recipe. The rest of the ingredients are interchangeable and can be adapted to your taste preferences or diet requirements. I am happy to report that I came up with this easy recipe that will give you the true flavours of a Vietnamese Pho Soup. Travel through your taste buds to South East Asia while in the comfort of your own home. Enjoy!
4 servings
Prep time: 20 minutes
Cook time: 20 minutes
What you need:
- 200g pkg rice noodles
- 1 tbsp coconut oil
- 1 large onion, minced
- 2 tbsp grated gingerroot
- 3 cups bone broth (or vegetable broth)
- 2 cups broccoli florets
- 5 star anise pods
- 1 cinnamon stick
- 2 cups cooked chicken or extra-firm tofu
- 2 green onions, sliced
- 2 cups bean sprouts*
- Tamari sauce
- Hot sauce
- Fresh herbs: mint, basil, cilantro
- Sea salt and freshly ground pepper (to taste)
What you do:
- Cook rice noodles according to package directions. Set aside.
- In a large saucepan, melt the coconut oil. Add the onion and gingerroot and cook until softened. Add the bone broth, broccoli, star anise, and cinnamon. Simmer for 20 minutes.
- Add the cooked chicken (or tofu) and heat through.
- To serve, add the rice noodles to bottom of bowl. Pour the soup over them. Add the tamari and hot sauce to your liking. Top with bean sprouts, green onions and the fresh herbs.
* Lightly fry the bean sprouts beforehand to soften them.
Bon appétit!
Substitution tips:
- Replace chicken or tofu with cooked beef, shrimps, or any other protein.
- Replace the broccoli florets with another vegetable of choice like carrots or cauliflower.
- Replace the tamari with soy sauce or coconut aminos.


